Ok, I hope you picked up a few facts and tips from How to Play Classical Guitar in Lesson One. This lesson will introduce more advanced techniques and interpretive skills to take you to the next level of classical guitar. Here’s an audio track from the Classical Guitar Book in Open D Tuning you can listen below to while you read the post.
6) Always know where the melody is (treble or bass)
Ask yourself frequently, where is the melody? Most pieces have a clear melody, and knowing what it is will help bring the music to life. I often hum or sing the melody to figure out the phrasing and also to help with memorization. Ask yourself: is the melody in the higher-pitched treble notes or in the lower bass notes with the thumb? Sometimes, the melody may shift between the treble and bass notes or be the top note of a chord. In the example below, the tablature is written in Open D tuning.
Once you have figured out where the melody is, play these notes with the rest stroke where possible or accentuate the notes with the free stroke. I often play the melody notes separately before adding in the added harmony notes. Next, let’s look at the roles of tempo and phrasing work in your piece.

7) Tempo and Phrasing
There is a saying that “every piece of music has a perfect tempo.” This might be true in an abstract sense, but in reality, most pieces will suggest a tempo range with an instruction at the start of classical music (often in Italian) and measured in beats per minute (bpm) on the metronome. Sometimes, you will see an actual tempo number with a specific note value getting a beat. In the first example below, the quarter note is played at the metronome marking of 120 bpm.

Of course, the tempo is determined by the performer’s technical ability, the genre, and personal interpretation. Once you have settled on a tempo, the next question is; can you maintain that relative speed throughout the composition? If you record yourself then listen back, you will often find your starting speed and ending speed are different. This is fine because fluctuations in tempo are expected. The music needs to flow as you add dynamics, climatic points and phrasing to your playing.
Tempo Markings
Here are some standard tempo markings with Italian terms and the suggested beats per minute from slowest to fastest:
- Larghissimo – very, very slowly (24 bpm or less)
- Larghissimo – very, very slowly (24 bpm or less)
- Adagissimo – very slowly
- Grave – very slow (25–45 bpm)
- Largo – broadly (40–60 bpm)
- Lento – slowly (45–60 bpm)
- Larghetto – rather broadly (60–66 bpm) Adagio – slowly (66–76 bpm)
- Adagietto – slower than andante (72–76 bpm)
- Andante – at a walking pace (76–108 bpm)
- Andantino – slightly faster than andante (80–108 bpm)
- Andante moderato – between andante and moderato (92–112 bpm)
- Moderato – at a moderate speed (108–120 bpm)
- Allegretto – moderately fast (112–120 bpm)
- Allegro moderato – slightly slower than allegro (116–120 bpm)
- Allegro – fast (120–156 bpm) Vivace – lively and fast (156–176 bpm)
- Vivacissimo – very fast and lively (172–176 bpm)
- Allegrissimo or Allegro vivace – very fast (172–176 bpm)
- Presto – very, very fast (168–200 bpm)
- Prestissimo – even faster than presto (200 bpm and over)
For more information on tempo markings check out the Wikipedia article.
Phrasing
We cannot talk about tempo without also mentioning musical phrasing. Phrasing is sometimes written in the score with curved lines or phrase markings though it is often left to the performer to interpret. In the example below, notice the phrase markings from the prélude from the suite in D minor by Robert de Visée (Tab is in Open D Tuning). The breath marks are added to indicate a slight pause after each phrase mark:

As you can see, phrasing is when you group notes together, similar to how you group words together in a sentence. The notes are grouped into phrases to emphasize part of a melody, the dynamics, articulation, tempo, tone colour or timbre, a particular fingering, or just how the performer interprets the piece. Phrasing is often overlooked by beginners as they plough through a piece.
Still, phrasing is equally important as any other aspect in performing correctly, almost as important as our next tip.
8) Dynamics
The dynamic range of the unamplified guitar is relatively small compared to other instruments. If you put a guitar beside a grand piano, you will quickly see how quiet the guitar really is. To compensate for this reduced dynamic range, we have to alter the dynamics to suit the individual player, the guitar’s quality, and the room’s size and shape.
At some point, you should establish your quietest dynamic ( ppp – pp – p) versus your loudest (f – ff – fff). The tone you create at both extremes of the dynamic range should still sound controlled. The quiets still have to project clearly, and the louds shouldn’t sound forced or pulled like lifting or snapping the strings.
I like to think of dynamics in terms of a volume knob on a radio:

Before you start a piece, look at all the dynamics and locate the quietest and the loudest parts. I often take a coloured marker and highlight the dynamics with different colours. For example, anything loud is a reddish colour, and anything quiet is a greenish or blue colour.
Also, take note of any crescendo or decrescendo markings while keeping the piece’s overall dynamic range in mind. Use a different colour marker for crescendo and decrescendos.
Alright, one more tune below to listen to, then you should be done reading the post. This piece is from one of my favourite composers: J.S. Bach.
Next up, a few techniques to entice your listener and bring your classical guitar playing to the next level.
9) Tone colour and interpretation
Tone colour or timbre refers to altering the guitar’s tone by changing your right-hand position over the guitar’s body. There are three basic timbral positions to learn:
Sul ponticello (pont.) – move your right hand close to the bridge to produce a brighter sound.
Sul tasto (tasto) – move your right hand close or overtop the fretboard to produce a softer, fuller sound.
Natural (nat.) – sometimes is shown to indicate a return to the natural or normal playing position.
For most playing, you will have your right hand over the soundhole in the natural position. Sul ponticello or playing by the bridge produces a sharper and brighter sound, closer to a harpsichord’s sound than a piano. Sul tasto or playing over the fretboard has a softer and rounder sound, perfect for quieter expressive sections.
It is very effective to switch between sul ponticello and sul tasto to produce contrast in tone and dynamics throughout the piece. Listen to how the great guitarists change the guitar’s timbre to contrast and fully express the music. Other right-hand terms commonly used are:
Rasgueado (rasg.) – this term means to strum the strings with the back of the right-hand nails.
Tambora (tamb.) – means to tap on or near the saddle.
Golpe – is a percussive tap on the guitar body, usually with the right-hand fingers or thumb.
10) Nail care
Finally, needless to say, that the tone you create on your guitar is essential! What a listener hears as the finger hits the string is arguably the most important element at any level of playing. You can perform a piece correctly, but it will fall short if your tone is harsh and flat. Therefore, the final step to consider is how you care for your nails to produce a quality guitar tone.
You should remember that your playing position and technique also play an equally important role in your tone, as mentioned above. Some guitarists may play without nails, but most classical players eventually realize that nails really help to produce a more precise sound. Either way, nail care is something to consider and experiment with.
When the finger or thumb strikes the string, there are two points of contact. The first point of contact is the flesh part of the finger or thumb, followed by the release point when the nail hits the string. Both points of contact are important to produce a full and clear tone.
Here are two basic tips for looking after your nails:
1) Use a nail file instead of clippers and smooth the nail with fine emery sandpaper or a nail buffer file.
2) File the nail on a slight angle or ramp so the finger glides off the string. Each individual finger (p, i, m, and a) may require a slightly different angle depending on your finger size and nail construction. The best advice is to experiment until you find a nail shape that works for you and always listen carefully to the tone you produce. I once attended a guitar masterclass where a very well-known classical guitarist said, “shape your nail perfectly to gift wrap each note.”
Here is the basic idea of how to shape your nails:

And there you have it. I hope you learned something from these two lessons to apply to your classical guitar playing. Playing classical guitar is primarily a solo act that you can enjoy in the comfort of your home or if you get the courage to play in public. Good luck! Please leave any comments or suggestions for more lessons.
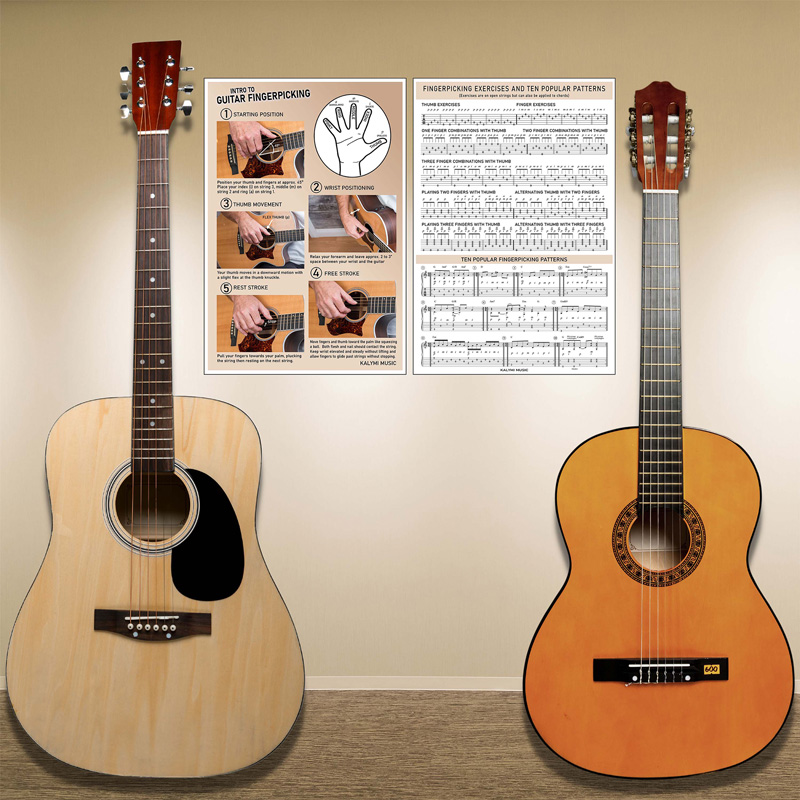
Guitar Fingerpicking Poster
- Elegant guitar fingerpicking poster set showing essential fingerpicking techniques and exercises.
- Two posters included – 1) Guitar fingerstyle technique, and 2) 37 Fingerpicking exercises and 10 popular patterns.
- Convenient size poster 12” x 18”. Side by side, the two posters are 24” x 18”.
- An excellent reference for all guitar players learning or reviewing the most important aspects of playing fingerstyle guitar.
- All posters have a gloss finished printed on 100# Digital Gloss Text.
This two-poster introduction to guitar fingerpicking poster will get you started playing with your fingers. 5 essential tips, 37 exercises and the top 10 fingerstyle patterns included. Audio tracks below.
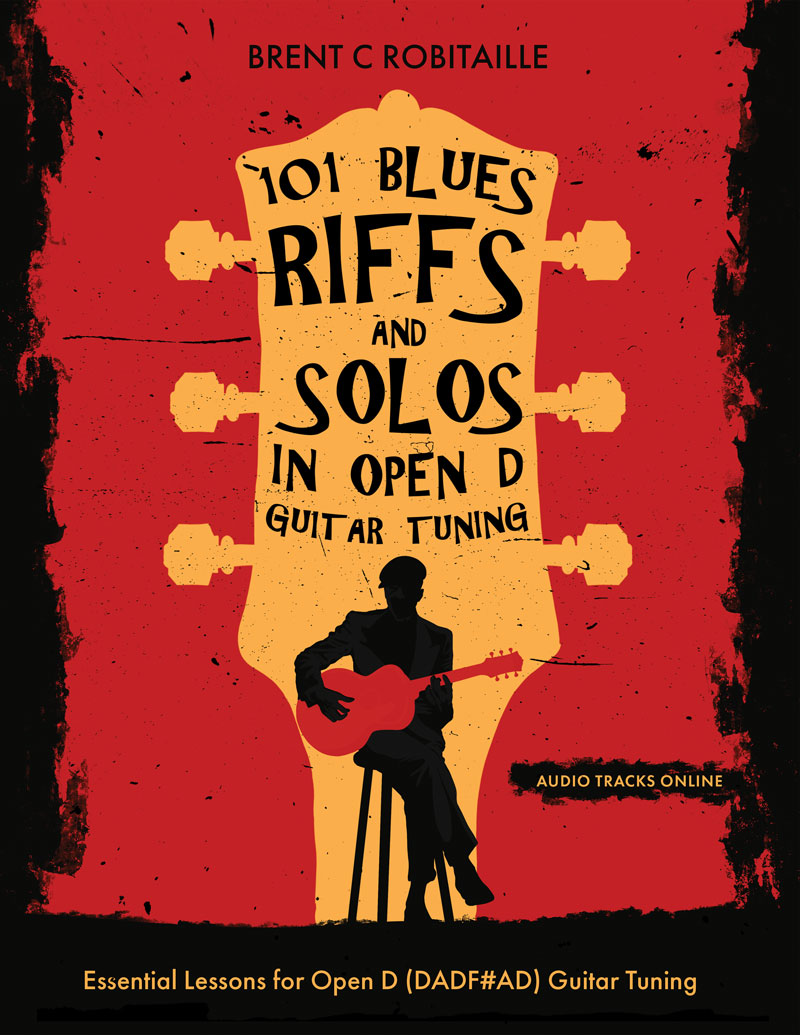
101 Blues Riffs and Solos in Open D Guitar Tuning
Take your Open D guitar playing to the next level with “101 Blues Riffs & Solos in Open D Guitar Tuning.” The most complete instructional book ever written exclusively in DADF#AD tuning. Using a combination of slide, fingerstyle and pick playing, you will cover all the bases needed to develop a solid technique in open D guitar. Everything you need to master the blues with essential lessons in DADF#AD guitar tuning!
Includes:
- Master the Blues in Open D Guitar Tuning
- Slide, Fingerstyle and Picking Riff and Solos
- Traditional, Delta, Rock, Funk and Jazz Blues
- Extensive Scale, Chord, and Arpeggio Charts
- A Complete Course for Open D (DADF#AD)
- Audio Tracks Bellow

Celtic Flatpicking Open D Guitar Tuning
Celtic Guitar Flatpicking in Open D Guitar. Tuning your guitar to DADF#AD or “Open D” tuning compliments Celtic guitar music perfectly.
- 30+ Celtic session tunes and songs. Jigs, reels, songs, hornpipes, waltzes.
- Tips for Flatpicking and Ornamentation.
- DADF#AD chords and arpeggios.
- Celtic strumming patterns.
- Campanella major, minor and modal scales.
- DADF#AD fingerboard chart.
- A selection of audio and interactive tracks below
Good evening! When I finally Getty nails to the right shape, one or two will break. Is there something I can use to strengthen my nails?
Hey Richard, thanks for your question. For sure, it is a problem for all fingerstyle and classical guitar players. I found this article on how to strengthen nails that might be helpful (https://www.healthline.com/health/how-to-strengthen-nails). I have used a single coat of nail hardener with varying success but it’s a pain to have to reapply as the layers overlap or wear off. I read that Julian Bream used his left-hand for day-to-day to avoid breaking nails on his right hand (apparently he always opened the door with his left hand). Hope this helps. Feel free to respond if you find any more good tips.