
Kalymi Music - Ukulele Technique Library
Ukulele Technique: Finger Control, Chord Changes and Practice Routines
Finger Control - Chord Changes - Practice Workouts - Graded Pieces
Build reliable ukulele technique through clear exercises and practical routines. Improve posture, finger control, chord changes, rhythm and coordination, then apply those skills through graded music and everyday practice.

Start With Free Resources
Start Here: Free Workout, Workbook and Chord Chart
Use the workout, workbook and chord chart together. The workout builds movement, the workbook gives notation and TAB, and the chord chart supports progression exercises.
10-Minute Technique Workout
Work through Box, Triangle and two-chord exercises with a clear daily routine for finger control and coordinated movement.
Starter Exercises Workbook
Download the mini workbook with TAB, chord diagrams, two-chord progressions and a Level 4 Für Elise study.
Free Ukulele Chord Chart
Use as a quick reference while practicing open-position and movable chord progressions in this system.
The Foundation
What Is Ukulele Technique?
Ukulele technique is coordinated use of posture, finger pressure, hand position, fingering, timing and preparation to play cleanly and reliably. Good technique is not simply speed. It helps you produce clear notes, change chords without losing the beat, move the fretboard efficiently and play with less unnecessary tension.
The goal is to make the movement reliable enough that you can use it naturally in chord progressions, strumming patterns or pieces of music. Technical exercises isolate one movement at a time. When the movement becomes controlled, you return it to real music.
Which ukuleles? This technique system works for soprano, concert, and tenor ukuleles in standard GCEA tuning. For baritone ukulele (DGBE tuning), the fretting-hand principles apply, but chord shapes, fingerings and fret positions differ. If you play baritone, the exercises build the same finger independence and control — adapt the chord diagrams to your instrument's tuning.
Core Framework
Four Principles Behind Good Ukulele Technique
These four principles guide every workout, chord change and graded piece.
Functional Tension
Use only the pressure needed for a clean note. Notice unnecessary tension and release what is not helping.
Placement & Posture
Support the instrument so your fretting hand moves freely. Place fingers close to the fret.
Fingering & Positioning
Choose fingerings that prepare the next movement. Reduce unnecessary motion and jumps.
Mental Preparation
Begin slowly, isolate difficult movements, settle on fingering and anticipate what comes next.
From Basic Control to Complete Music
How the Complete Technique System Progresses
The Ultimate Ukulele Technique & Warm-Up Book develops technique in a deliberate sequence. Each stage builds on the previous one, moving from individual finger control to coordinated chords, rhythm and complete pieces of music.
One-Finger Control
Begin with individual fingers to develop clean contact, accurate placement and awareness of finger pressure.
These exercises establish the basic movement needed before several fingers begin working together.
Two-, Three- and Four-Finger Coordination
Progress through increasingly demanding finger combinations, rhythmic patterns and fretboard positions.
The Box and Triangle Workouts introduce the coordination needed for smooth, controlled movement.
Chord Progressions and Coordinated Changes
Apply finger control to complete chord shapes and practise moving between two-, three- and four-chord progressions.
This is where isolated technique becomes practical musical movement.
Strumming, Blues and Jazz Workouts
Coordinate the fretting and strumming hands through rhythm patterns, 12-bar blues, seventh chords, circle progressions and jazz harmony.
Begin with simple strums, then add rhythm after the chord changes are secure.
Graded Repertoire and Independent Practice
Apply the complete system through eight graded pieces spanning blues, classical, bluegrass, Celtic and rock styles.
Scales, arpeggios, chord references and practice schedules then support continued independent development.
The central idea: control begins with a single finger, expands into coordinated hand shapes, and becomes complete technique when both hands can maintain rhythm and musical expression.
Technique Diagnostic
What Are You Struggling With?
Identify the problem and the movement behind it. Use this table to choose the right starting point.
| Problem | What to Examine | Start Here |
|---|---|---|
| Notes buzz or sound thin | Finger placement and minimum required pressure | Move closer to the fret and test the lightest pressure that still produces a clean note. |
| Fingers move unevenly | Independence and coordination between finger pairs | Use the Box Workout slowly with one finger combination at a time. |
| Chords form one finger at a time | Shape preparation and coordinated landing | Use the Triangle Workout and form the shape slightly above the strings. |
| Chord changes interrupt the beat | Timing, preparation and the size of the movement | Practise one strum per chord before adding a full rhythm pattern. |
| Hand or shoulder becomes tired | Excess finger pressure and instrument support | Pause, release tension and check whether the fretting hand is also holding the ukulele. |
| Exercises fall apart at speed | Accuracy, relaxation and rhythmic control | Begin beyond slow, then increase tempo only after several clean repetitions. |
Daily Follow-Along Practice
10-Minute Ukulele Technique Workout
Follow along with three progressive exercises for two-finger coordination, three-finger chord preparation and practical chord switching in the key of C. The video includes on-screen tablature, chord diagrams and guided practice.
Minutes 0–3
Check posture and finger pressure. Work through selected two-finger Box combinations slowly and evenly.
Minutes 3–6
Prepare and land Triangle chord shapes as coordinated movements. Keep the motion small and repeat difficult changes.
Minutes 6–10
Apply the movement to two-chord progressions. Begin with single strums, then add a steady rhythm.

Repeatable Practice Loop
The Kalymi Method
Apply this six-step process to any exercise, chord change or difficult passage. It turns repetition into a deliberate learning cycle.
For the wider sequence of chords, fingerstyle, repertoire and supporting resources, continue through the Ukulele Learning Path.
Choose a Routine You Can Repeat
10-, 20- and 30-Minute Practice Plans
Consistency matters more than length. Use the time available, practice with attention and finish by applying technique to music.
Daily reset
- 1 min: posture check
- 3 min: Box Workout
- 3 min: Triangle Workout
- 3 min: two-chord progression
Technique + rhythm
- 2 min: warm-up
- 5 min: finger control
- 5 min: chord changes
- 4 min: strumming
- 4 min: graded piece
Complete session
- 3 min: posture & pressure
- 7 min: finger workout
- 7 min: chords & strumming
- 10 min: repertoire
- 3 min: recall & notes
Technique Applied to Repertoire
Eight Graded Ukulele Pieces
The graded pieces progressively combine fingering, position changes, chord control, rhythm, articulation and musical phrasing through blues, classical, bluegrass, Celtic and rock styles.
Level 4: Für Elise - Ludwig van Beethoven
Hand-position changes, barre chords and finger extensions combine in this recognizable classical study. Identify difficult measures, practice them separately and follow the suggested fingerings.
Complete Progression: Listen to All 8 Pieces
Level 1 through Level 8 shows your complete journey through the technique system.
Companion Resource
Download the Free Starter Workbook

Ukulele Technique Starter Exercises
The free mini workbook is adapted from the Ultimate Ukulele Technique & Warm-Up Book. It gives you enough material to test the method and establish a short daily routine.
- Box Workout with all two-finger combinations
- Triangle chord exercise with examples
- Two-chord progression workout in C
- Open and alternate chord shapes
- Nashville numbers and chord-function practice
- Level 4 Für Elise study with notation and TAB
Free for personal study and educational use.
Continue the Complete System
Books and Starter Bundle
Ukulele Fingerstyle & Technique Starter Bundle
Build the fretting-hand foundation first, then continue into fingerstyle patterns and right-hand application. The bundle connects both books with a practical guide.
- Ultimate Ukulele Technique & Warm-Up Book (159 pages)
- Mastering Fingerstyle Ukulele (144 chord riffs)
- Complete 8-piece graded progression
- Practice guide using the Kalymi Method
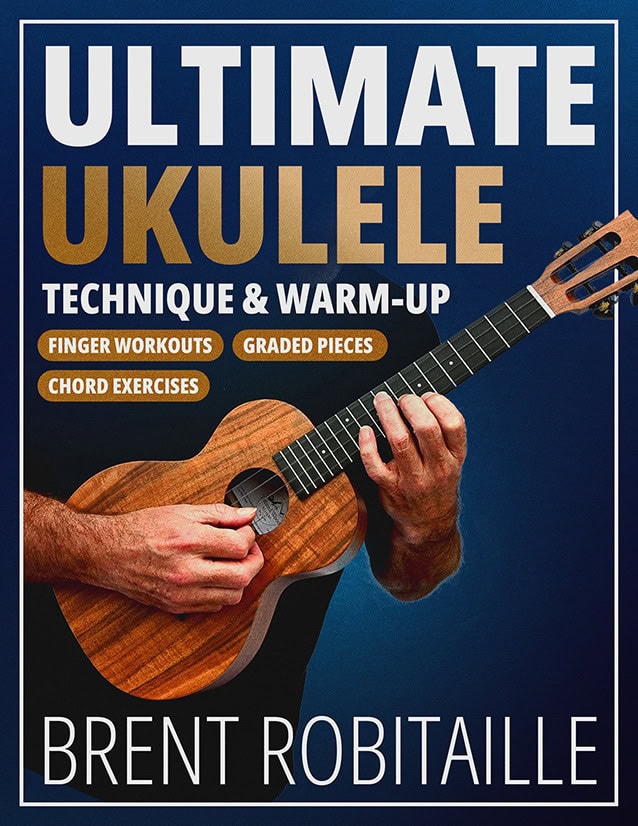
Ultimate Ukulele Technique & Warm-Up Book
The complete progression: one- through four-finger workouts, chord progressions, strumming patterns, blues and jazz workouts, eight graded pieces, scales, arpeggios and practice schedules.
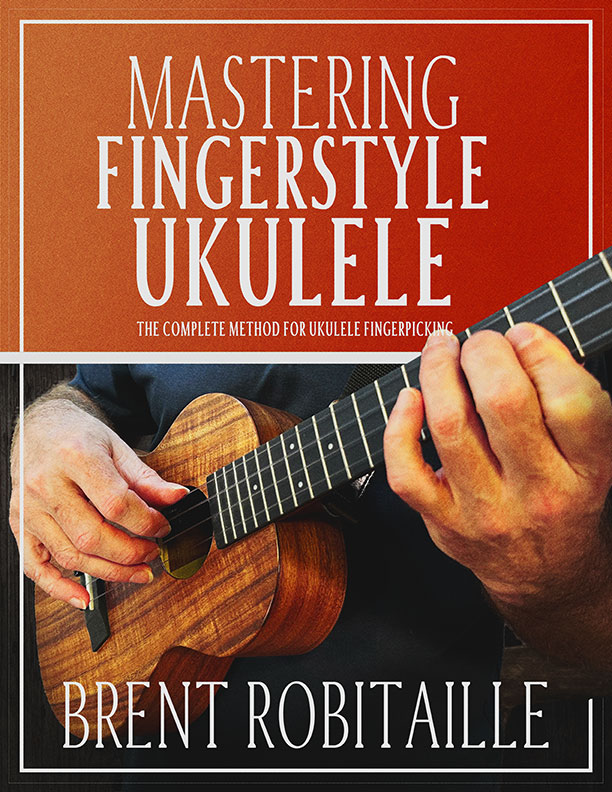
Mastering Fingerstyle Ukulele
Continue from fretting-hand control into right-hand patterns, fingerstyle textures, chord riffs and musical examples. The natural next step for fingerpicked music.
Continue Learning
Where Ukulele Technique Fits Next
This hub explains the technique system. The Learning Path organizes your wider progression. Companion pages and lessons provide focused media and applications.
Ukulele Learning Path
Follow the larger sequence through chords, technique, fingerstyle, repertoire and supporting resources.
Mastering Fingerstyle Companion
Access media and support materials connected to Mastering Fingerstyle Ukulele.
Modern Fingerstyle Techniques
Explore contemporary fingerstyle approaches after your foundation is secure.
Common Questions
Frequently Asked Questions
Ten focused minutes is enough to establish a useful daily routine. Once consistent, expand to 20 or 30 minutes by adding strumming, chord progressions and graded repertoire. Clean, attentive repetition is more useful than a longer session built on tension or rushing.
Yes. Begin with basic holding and tuning, then use the Box Workout at a very slow tempo. The exercises can grow with you because the same movements can be shifted to new frets, combined with new fingers and applied to more difficult chords and music.
Use both. A short exercise isolates the movement, while a song or graded piece gives the movement a musical purpose. A balanced session might include five minutes of technique, five minutes of chord or rhythm work and ten minutes of repertoire.
Buzzing often comes from a finger landing too far behind the fret, another finger touching the string, or an unstable hand position. Move the fingertip closer to the fret and use only enough pressure to produce a clean note. Pressing much harder is not always the solution.
Mild fingertip sensitivity can occur when beginning, but sharp pain, numbness, joint pain or persistent discomfort should not be ignored. Stop, release the instrument, and check your pressure, wrist angle and support. Resume only when you can play comfortably.
Yes. The physical principles, finger workouts and most chord exercises apply to both high-G and low-G GCEA tuning. Some melodic passages, scale fingerings and arrangements may sound or lie differently because low-G creates a linear pitch range.
The Technique book establishes finger control, positioning, chord fluency, strumming, graded repertoire and a structured warm-up system. Mastering Fingerstyle Ukulele continues into right-hand patterns, fingerstyle textures, chord riffs and musical applications. The bundle connects both stages.
Increase the tempo only when you can repeat the passage several times with clean notes, steady rhythm and no increase in unnecessary tension. Make a small tempo change rather than a large jump. If accuracy disappears, return to the previous tempo.
