

Updated and reviewed by Brent C. Robitaille · Kalymi Music
Learning how to play slide guitar opens up one of the most expressive sounds on the instrument. With a slide, you can glide smoothly between pitches, shape sustained notes with vibrato, and create sounds that range from singing melodic lines to rough blues phrasing.
Before moving freely up and down the neck, it helps to develop a few essential skills: accurate pitch, clean muting, controlled pressure, slide tilt, chord technique, and vibrato.
This lesson focuses mainly on 6-string guitar in standard EADGBE tuning and includes photographs, written exercises, music examples, audio recordings, and play-along videos for acoustic or electric guitar.
Following the Guitar Learning Path? Standard-tuning slide is covered in Step 5 of the Guitar Learning Path. Use this lesson to develop the technique, then apply it to complete arrangements.
Listen: Air on a G String
While you work through the setup and first techniques, listen to my slide guitar recording of Bach’s Air on a G String. It is a good example of how intonation, sustain, muting, and vibrato work together in a complete melody.
Slide Guitar Setup
Before working on the techniques, take a moment to look at your guitar setup and the slide itself.
Action is the distance between the strings and the frets. If the action is very low, the slide can knock against the frets and produce buzzing, clanking, or muffled notes. Slightly higher action gives the slide more room to move cleanly across the strings.
I keep an extra guitar set up for slide playing, but you do not need a dedicated instrument. If you use one guitar for both regular and slide playing, a moderate setup can provide enough clearance for the slide while still keeping ordinary fretting comfortable.
The goal is a setup that lets the slide contact the strings cleanly without constantly hitting the frets.
Types of Guitar Slides
Finding a slide that feels comfortable is an important part of learning to play. Slides are available in different lengths, wall thicknesses, finger sizes, and materials, including glass, metal, ceramic, and bone.
Different materials and thicknesses produce different tones and feel different on the hand. Experiment until you find a slide that fits securely, moves comfortably, and gives you a tone you like.
The slide you choose also depends on which finger you use. Many players wear the slide on the third or fourth finger, but there is no single correct choice. Try different fingers and choose the position that gives you the best combination of slide control and freedom for your remaining fingers.
For a quick reference, see Guitar Slide in the Kalymi Guitar Dictionary.
Skill #1 – Playing in Tune
The first essential slide skill is intonation — playing each note at the correct pitch.
With ordinary fretting, your finger presses the string behind the fret. With a slide, the contact point should be positioned directly over the fret. If the slide stops slightly below or above that point, the note will sound flat or sharp.
Start slowly and watch the relationship between the slide and the fret. When larger movements are involved, memorizing a short riff or melody can help because you can keep your eyes on the fingerboard instead of constantly looking away at the music.
As your control improves, rely more on your ear. Practise occasionally without looking at your hand and listen carefully to whether the note settles into tune. A clip-on tuner can also be useful for checking how accurately you are landing on each pitch.

Skill #2 – Muting with Both Hands
Playing the correct pitch is only part of good slide technique. You also need to control the strings you do not want to hear.
Muting, sometimes called dampening, means selectively stopping strings or notes from ringing. This is one of the most important techniques in clean slide playing.
The sound of the slide gliding between notes is part of what makes slide guitar distinctive. But you do not want every movement of the slide to be heard. Good slide playing uses a combination of intentional sliding and intentional silence.
Picking-Hand Muting
Your picking hand can stop a string immediately after the note is played. Depending on your technique, you can use a finger, thumb, pick, or contact from the picking hand to stop unwanted ringing.
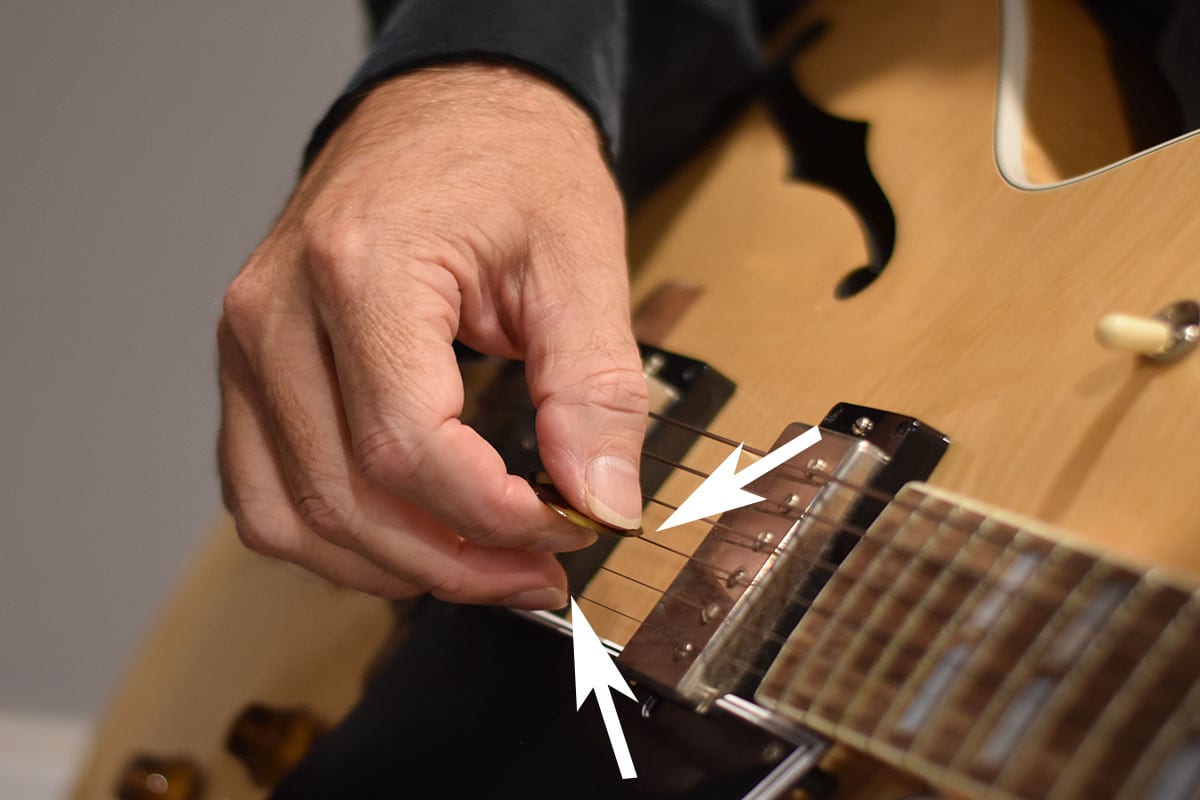
Slide-Hand Muting
The fingers behind the slide can lightly touch the strings while you play. This helps control unwanted vibration behind the slide and reduces rattling and extra overtones.

Practice idea: Play one note, mute it completely, move the slide silently to the next position, and play again. That sequence — play, mute, move, play — is the foundation of the exercises in the next section.
Slide Guitar Exercises 1–4
The following exercises are written in standard guitar tuning (EADGBE). Open guitar tunings such as Open D, Open G, DADGAD, and Open E are also commonly used for slide guitar, but you do not need to retune your guitar to practise these fundamentals.
Play slowly enough to hear each note clearly. Concentrate on accurate pitch, clean muting, and silent movement between notes.
Exercise 1 – Muting
Repeat this exercise on all six strings.
Play the note → mute the string → move the slide silently → play the next note.
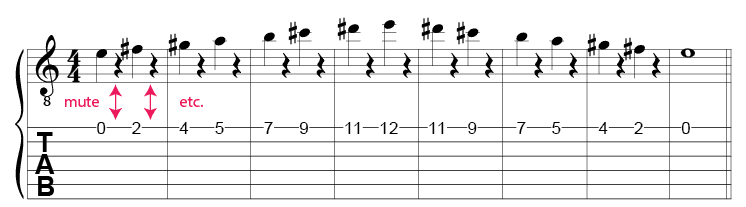
Exercise 2 – Arpeggio Muting
Move across the strings using the same sequence: play → mute → move → repeat.

Exercise 3 – Pitch and Intonation
Repeat this exercise on all strings. Place the slide directly over each fret and listen carefully to the pitch.

Exercise 4 – Slide, Mute, and Fret
Combine a slide note with a normally fretted note: slide → mute → play with the first finger.

Watch and Play Along: Slide Guitar Exercises 1–4
Watch the exercise demonstration below and play along. The video shows the slide movement, muting, pitch control, and timing used in Exercises 1–4.
Hear the Techniques in Real Music
Exercises are useful, but slide technique makes more sense when you hear it in complete music. These three recordings show different ways the slide can be used.
Wayfaring Stranger – Standard-Tuning Slide
Wayfaring Stranger is from Slide Guitar Collection. It demonstrates melodic slide playing in standard tuning.
Delta Slide Blues – Open D Blues
Delta Slide Blues is a country-blues-style solo from 101 Blues Riffs and Solos in Open D Guitar Tuning. It gives you a contrasting example of slide playing in an open tuning.
Worried Man Blues – Slide with a Looper Pedal
Worried Man Blues is a traditional tune recorded using a guitar looper pedal. It comes from The Blues Guitar Looper Pedal Book and shows how slide can work inside a layered blues arrangement.
Skill #3 – Slide Pressure and Tone
Once you can place the slide accurately and control unwanted ringing, pay attention to how much pressure you use against the strings.
The slide should make clean contact with the string without being forced down against the frets. Too much pressure can create fret noise and make smooth movement difficult. Too little pressure can produce a weak or rattling note.
Experiment until you find the lightest pressure that still gives you a clear, full, and consistent sound.
Practice tip: Sustain one note and gradually vary the slide pressure. Listen for the point where the note becomes clear without the slide knocking against the fret.
Skill #4 – The Slide Tilt
A slide does not always have to lie flat across every string. Sometimes you need to target one string while leaving another available for a fretted note.
For this, use what I call the slide tilt. Angle the slide slightly so that it touches only the string or strings you want.
This slide technique is useful for intervals, partial chords, blues phrases, country-style sounds, and combinations of slide and fretted notes.

Exercise 5 – Tilt-Slide 3rds
Play the 3rd string with the slide and the 2nd string with a finger. Tilt the slide just enough to clear the fretted string.

Exercise 6 – Tilt-Slide 6ths
Play the 4th string with the slide and the 2nd string with a finger. Listen for two clear notes while keeping the slide away from the fretted string.

Exercise 7 – Tilt-Slide Boogie Blues
Apply the same tilt technique to this short boogie-blues pattern. Keep the rhythm steady while maintaining clean slide contact and clear fretted notes.

Want to continue with Open D, Open G, or DADGAD?
This lesson focuses mainly on standard EADGBE tuning. For open-tuning chords, riffs, blues, slide, and fingerstyle, continue with the Open Tunings Guitar Learning Path.
Skill #5 – Playing Chords with the Slide
Slide guitar is not limited to single-note melodies. You can combine the slide with normally fretted notes to create intervals, partial chords, and other chord shapes.
One approach is to use the slide tilt from the previous section. Another is to fret a note with a finger behind or in front of the slide while the slide plays another note.
This gives you more harmonic possibilities while staying in standard EADGBE tuning.

Exercise 8 – Slide Chords
Practise combining a straight slide position with normally fretted notes. Keep the slide aligned with the fret and listen to every note in the chord.
Start slowly. Make sure the fretted note and the notes under the slide all sound clearly before moving to the next shape.

Skill #6 – Vibrato
Slide vibrato is one of the techniques that gives slide guitar its vocal quality. Instead of holding the slide completely still over a sustained note, move it gently back and forth around the target pitch.
There are two main things to consider:
- Speed: how quickly the slide moves back and forth.
- Width: how far the slide moves on either side of the target pitch.
A narrow, controlled vibrato can sound smooth and subtle. A wider or faster vibrato can sound more dramatic. Listen to different slide players and notice how their vibrato changes with the phrase and style.
Experiment with both speed and width until the movement feels natural and supports the sound you want.
1. Keep Your Wrist Loose
A relaxed wrist makes the movement easier to control. Imagine the loose wrist motion you might use when lightly knocking on a door with the back of your hand.

2. Use the Thumb as an Anchor
Your thumb can act as an anchor or pivot behind the neck while you add vibrato. Avoid gripping the neck too tightly.

3. Move Around the Target Pitch
Begin with the slide centred directly over the fret. Then move slightly to either side of that point and return through the centre. Start with a slow, narrow movement before experimenting with wider or faster vibrato.


You now have the six core skills: intonation, muting, pressure and tone, slide tilt, chord technique, and vibrato. The next step is to use them together in a complete piece.
Play “House of the Rising Sun” on Slide Guitar
Now put the techniques together with House of the Rising Sun. This arrangement uses a complete melody to practise accurate slide placement, muting, controlled movement, tone, and sustained notes.
The arrangement is written for 6-string guitar in standard EADGBE tuning.
Download the free House of the Rising Sun slide guitar sheet music and TAB PDF →
Watch and Play Along
Follow the scrolling notation and guitar TAB while listening to the recorded guitar part. Use the video as a play-along reference while working through the arrangement.
Slide Guitar Collection
Continue with 25 Standard-Tuning Slide Arrangements
House of the Rising Sun, Wayfaring Stranger, Air on a G String, and other familiar melodies are included in Slide Guitar Collection.
The book contains 25 arrangements in standard EADGBE tuning, along with TAB, standard notation, chords, technique instruction, slide exercises, and reference charts.
View Slide Guitar Collection →
Already own the book? Open the Slide Guitar Collection Companion → for streaming audio, backing tracks, scrolling TAB and notation videos, the book guide, exercises, and additional resources.
Where to Go Next
Continue in Standard Tuning
For a complete route through chords, rhythm, repertoire, scales, soloing, slide guitar, and practice resources, continue with the Guitar Learning Path.
Explore Open Tunings
If you want to use slide in Open D, Open G, DADGAD, and related tunings, continue with the Open Tunings Guitar Learning Path.
Practise with a Looper
If you want to build layered rhythm parts, backing loops, and solos, visit the Looper Guitar Learning Path.
Look Up Guitar Terms
For quick explanations of techniques, tunings, notation, guitar anatomy, scales, chords, and other terminology used throughout this lesson, visit the Kalymi Guitar Dictionary.
Slide Guitar FAQ
Can you play slide guitar in standard tuning?
Yes. Slide guitar can be played in standard EADGBE tuning. All of the exercises in this lesson and the Slide Guitar Collection arrangements are designed to work in standard tuning.
Where should the slide sit in relation to the fret?
Place the slide directly over the fret rather than behind it as you would when fretting a note normally. Use your ear to make the final pitch adjustment.
Why is muting important in slide guitar?
Muting controls unwanted ringing, string noise, and slide movement between notes. Both the picking hand and the fingers behind the slide can be used to keep the sound clean.
How much pressure should I use with a guitar slide?
Use enough pressure to produce a clear note, but avoid pressing the strings all the way down onto the frets. The slide should move smoothly across the strings.
Which finger should I wear the slide on?
Many players use the third or fourth finger, but there is no single correct choice. Try different fingers and use the one that gives you the best control and comfort.
Do I need higher action for slide guitar?
Slightly higher action can make slide playing easier because the slide is less likely to strike the frets. However, many players use a moderate setup that still allows ordinary fretted playing.
Should I learn slide guitar in standard tuning or an open tuning?
Either approach can work. Standard tuning lets you use your normal guitar setup and familiar fretboard. Open tunings such as Open D and Open G make certain chords, drones, and traditional slide patterns easier to play.
Where can I find the Slide Guitar Collection audio and backing tracks?
Use the Slide Guitar Collection Companion for streaming audio, backing tracks, scrolling TAB and notation videos, exercises, and book resources.
About Brent C. Robitaille and Kalymi Music
Brent C. Robitaille is a music educator, composer, arranger, author, and founder of Kalymi Music. His instructional books, recordings, videos, lessons, and Learning Paths connect practical technique with complete music and play-along resources.
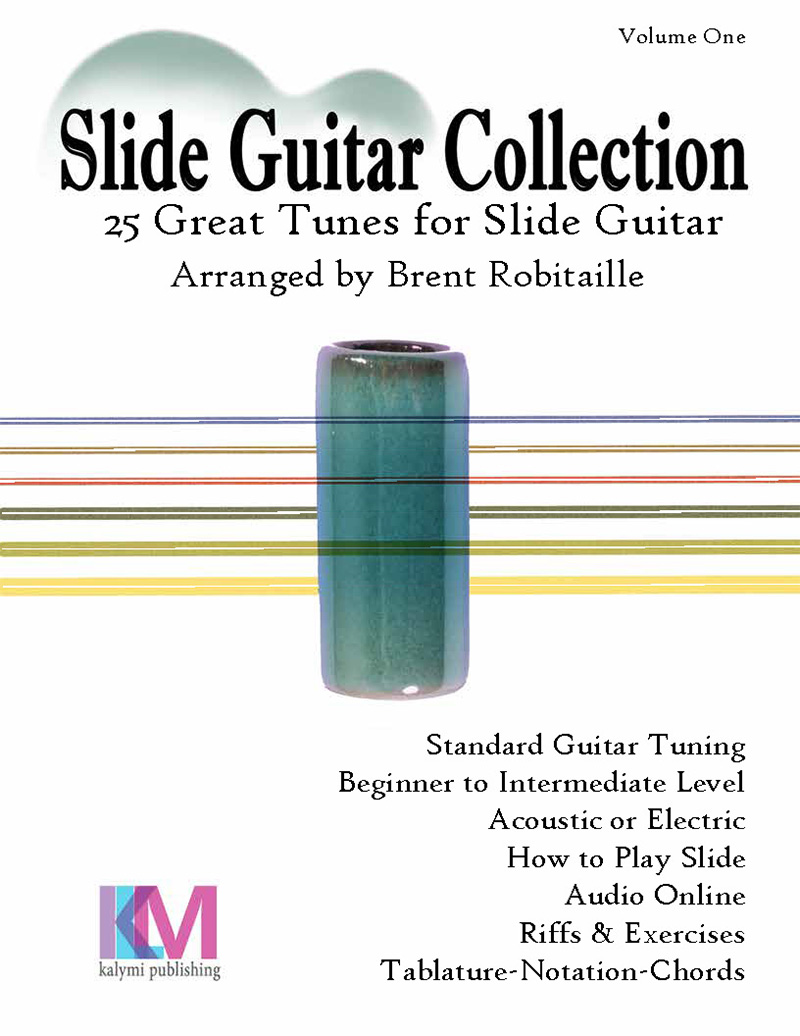
Slide Guitar Collection
Learn slide guitar in standard EADGBE tuning through 25 familiar tunes. This beginner-to-intermediate collection includes guitar TAB, standard notation, chords, slide technique instruction, 12 focused exercises, and reference charts.
Website PDF Edition Includes:
- PDF ebook
- Complete tune audio tracks
- Backing tracks for play-along practice
All three downloads are included with your website purchase.
6-string acoustic or electric guitar · Standard tuning EADGBE · Beginner to intermediate
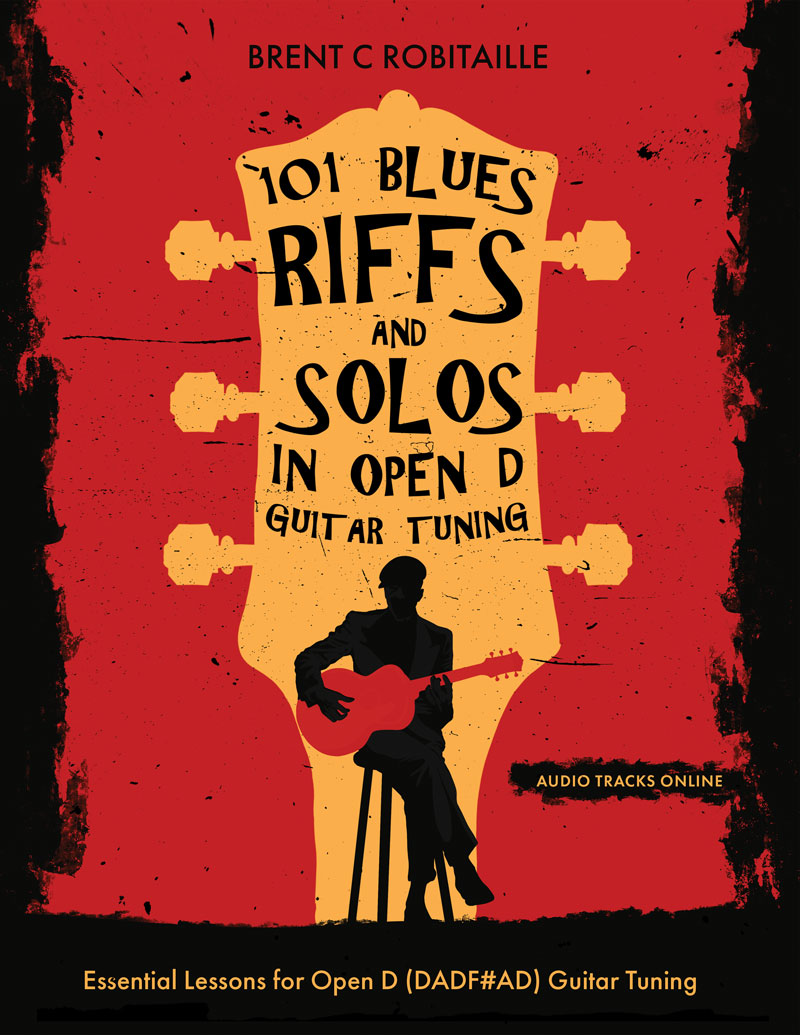
101 Blues Riffs and Solos in Open D Guitar Tuning
Take your Open D guitar playing to the next level with “101 Blues Riffs & Solos in Open D Guitar Tuning.” The most complete instructional book ever written exclusively in DADF#AD tuning. Using a combination of slide, fingerstyle and pick playing, you will cover all the bases needed to develop a solid technique in open D guitar. Everything you need to master the blues with essential lessons in DADF#AD guitar tuning!
Includes:
- Master the Blues in Open D Guitar Tuning
- Slide, Fingerstyle and Picking Riff and Solos
- Traditional, Delta, Rock, Funk and Jazz Blues
- Extensive Scale, Chord, and Arpeggio Charts
- A Complete Course for Open D (DADF#AD)
- Audio Tracks Bellow
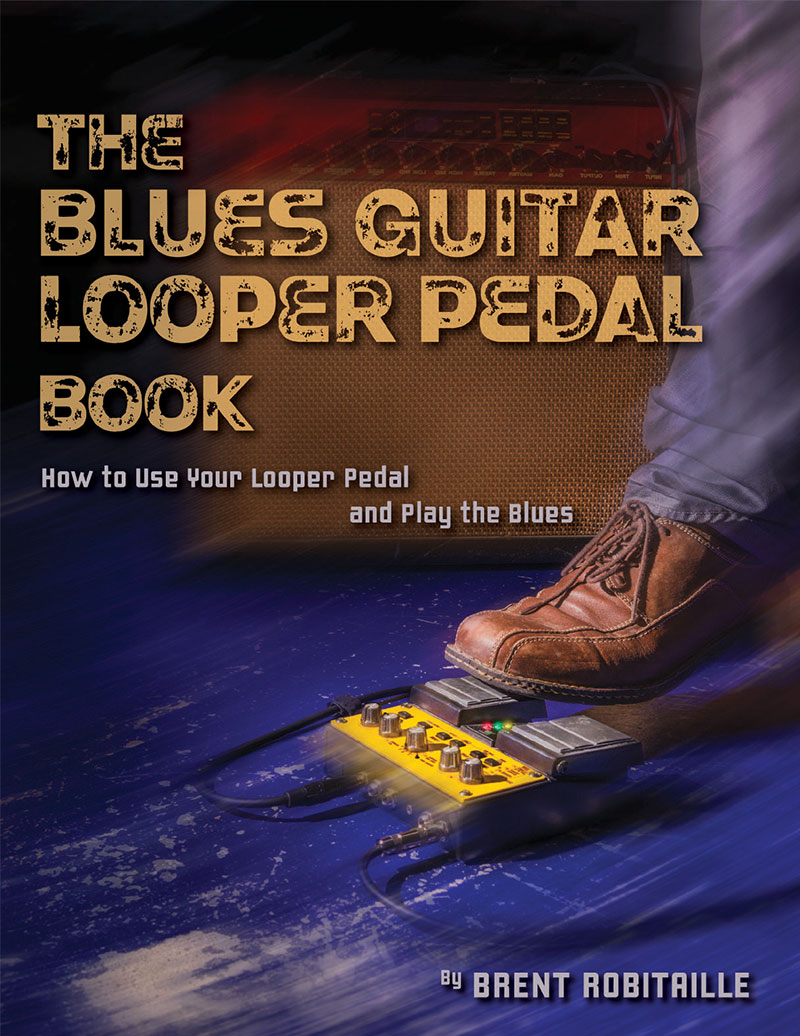
The Blues Guitar Looper Pedal Book
In the Blues Guitar Looper Pedal Book, you will learn how to use your guitar looper pedal and play the blues like a pro. The looper pedal is an excellent companion for any blues guitarist. Master essential looping techniques while your improve your blues guitar playing. Also included:
- Two, four, eight, twelve, and sixteen-bar multi-layered loops
- Blues scales and standard blues chord progressions in all keys,
- blues strumming patterns,
- fingerboard charts, theory
- How to play slide guitar with exercises.
- Audio tracks below.
Where are the audio tracks for “Blues Overload”?
Hi there, the audio tracks .zip files for the CBG Blues Overload book are here: https://brentrobitaille.com/download-audio-tracks/
You can also find them on the Soundcloud page: https://soundcloud.com/kalymi/sets/cigar-box-guitar-blues-overload