
Don Tucker handcrafts 3 and 4 string cigar box guitars and custom instruments from the Niagara region in Canada and owner of Blue Boy Guitars Canada. He was employed for 40 years as an aircraft fitter, retiring from Airbus Helicopters in Fort Erie. Don says “the skills I learned, such as building aircraft components by hand to exacting tolerances, made the transition to building cigar box guitars fairly easy”. Music in general, and guitars in particular, have been a lifelong passion. I’m happiest when out in my shop creating instruments that allow me to share this passion with others.
I believe that the neck is the single most important aspect of a CBG, and this is by far where I spend the most time. It is almost impossible to find a dead straight 1×2 to build the neck from; regardless, the neck has to be made in such a way as to be straight. This is my method of constructing a CBG neck.
Step One – 1×2 Maple
The maple 1×2 is cut down the center. I turn each piece a ¼ turn so the ends are touching and any gap from a bow in the wood is in the center. When glued, the opposing grain makes for a straighter neck that is much less likely to bow in the future.
Step Three – Plane the Neck
When the glue is dry, I plane the neck blank down to about 5/8 of an inch. I then make a 15 degree cut for the headstock.
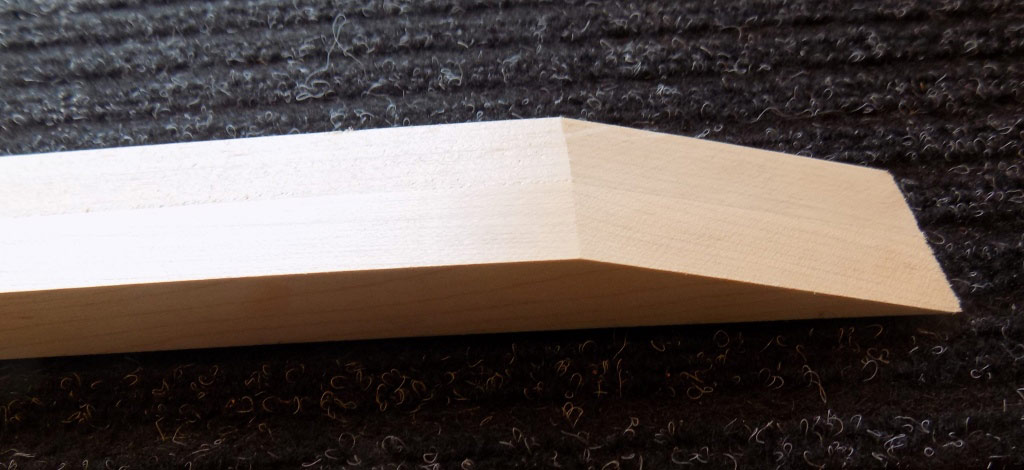
Step Four – Glue the Headstock
The headstock is then glued on

Step Five – Sanding
The headstock excess is trimmed off, then block sanded until dead flat.
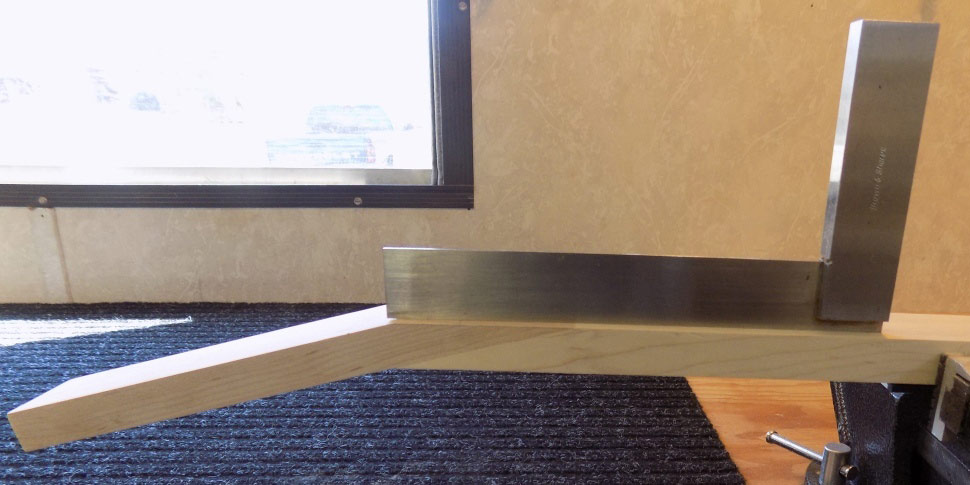
Step Six – The Frets
To ensure accuracy and quality, I have invested in professional quality tools for all aspects of a fret job. The mitre box allows for fret slots of a consistent depth, keeps the saw from wobbling so the slots are 90 degrees to the fretboard, and tight to hold the fret without glue. The indexed fretting template guarantees accurate slot placement without having to measure. Finally, the saw cuts the perfect-sized slot for the frets.
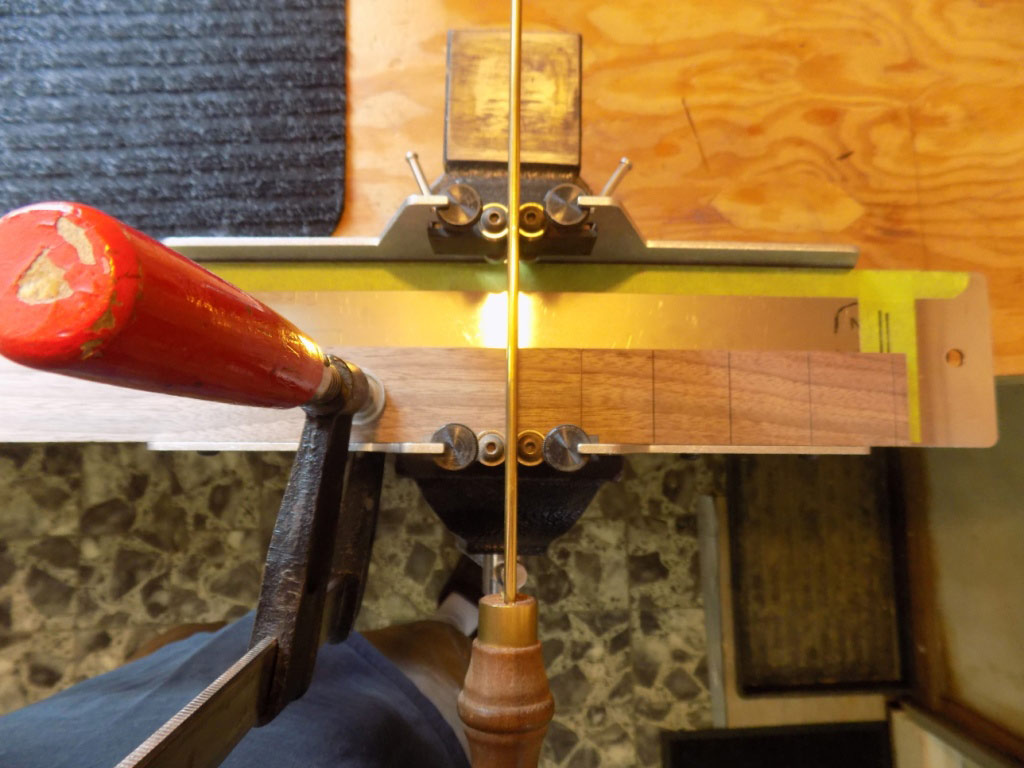
Step Seven – Sanding and Routing
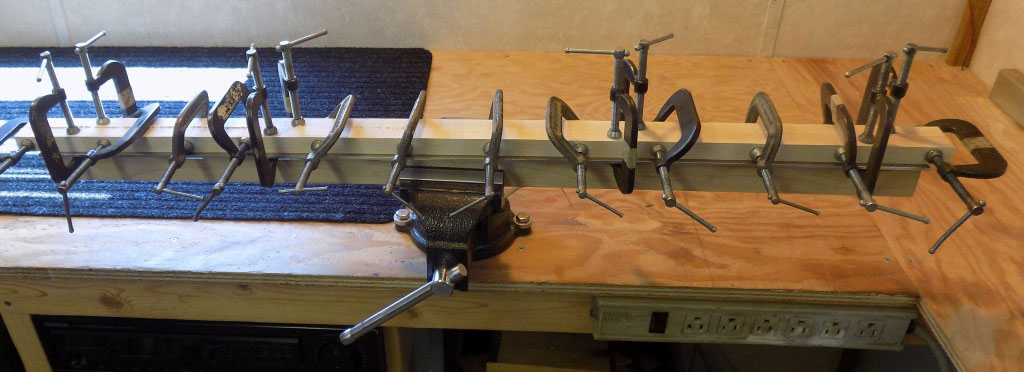
At this point, I use sandpaper on my levelling beam to sand the neck flat, then glue on the fretboard. I then routed the back of the neck as much as possible. It will be necessary to finish the heel and blend the neck into the headstock later on.

Step Eight – Add Another 1×2
I now glue on another piece of 1×2 to make the neck portion inside the box thick enough to allow for cutouts for the pickup(s)

Step Nine – Position Markers and Side Dots
I install the position markers and side dots, then use a dado blade to cut the box portion of the neck to the necessary depth to allow for the proper height of the fretboard above the body of the guitar. The neck is fitted to the body, drilled for the mounting bolts, marked for the pickup(s), then removed. The “T” nuts are installed, and the neck is cut out for the pickup(s)

Step Ten – Installing Frets
I once again use sandpaper on my levelling beam to sand the fretboard flat, then install the frets. I then dress the fret ends and level, crown, and polish the frets.

Step Eleven – Adding the Wings
Next, the “wings” are glued on the headstock, and the tuner holes are drilled. Next, the neck is blended into the headstock, and the heel area is finished. And finally, the neck now receives 2 coats of hand-rubbed tung oil and is ready for tuner installation.

And there you go. How I build my necks has evolved to the point where I am finally very happy with how they feel and perform. It took me quite a while to get to this point but worth the effort.
Here’s some more helpful tips from Don for what to look for when buying a cigar box guitar.
Please leave any comments or suggestions below for future cigar box guitar blog posts.
What to learn how to play cigar box guitar? Here’s a link for your first cigar box guitar lesson.
101 Riffs and Solos for 3-String Cigar Box Guitar
“101 Riffs and Solos” arranged for the 3-string fretted or fretless cigar box guitar tuned to GDG. An excellent resource for beginners and review of useful techniques for players of all levels and styles, including blues, rock, country, and popular. Audio tracks below.
Essential lessons for the cigar box guitar.
101 Riffs and Solos for 4-String Cigar Box Guitar
101 Riffs and Solos arranged for the 4-string fretted or fretless cigar box guitar tuned to GDGB. An excellent resource for beginners and review of useful techniques for players of all levels and styles, including blues, rock, country, popular and more. Audio tracks below.
Essential Lessons for 4-String Slide Cigar Box Guitar.
Cigar Box Guitar – The Ultimate Collection
Cigar Box Guitar – the “Ultimate Collection” is one the first books ever written specifically for the “3 String” cigar box guitar tuned to GDG. Songs, chords, scales, exercises and more. Everything you need to play cigar box guitar today. Audio tracks below.
How to Play Cigar Box Guitar
Cigar Box Guitar – The Ultimate Collection – 4 String
Cigar Box Guitar – The Ultimate Collection is one of the first books written specifically for the “4 String” cigar box guitar tuned GDGB. Great for beginners and players of all levels. 30+ tunes, scales, chord & fingerboard charts, arpeggios, riffs and exercises provide an excellent introduction to the cigar box guitar. Audio tracks below.
How to Play 4-String Cigar Box Guitar.






I have a Humbucker magnetic pickup for my first CBG. Where should that be installed on the box- like how far back from then end of the fret bar and what should be the space between the pickup and the strings be?
Thanks, Jim Jakosh
Hi Jim, I’d suggest sending a message to Don Tucker at his website: https://blueboyguitars.webs.com/
Let me know how you make out. Brent